
Access Denied
IMPORTANT! If you’re a store owner, please make sure you have Customer accounts enabled in your Store Admin, as you have customer based locks set up with EasyLockdown app. Enable Customer Accounts

Innovation through experience

Wherever the road takes you

Take control


Warm & Safe Heated Gear makes your experiences more comfortable!
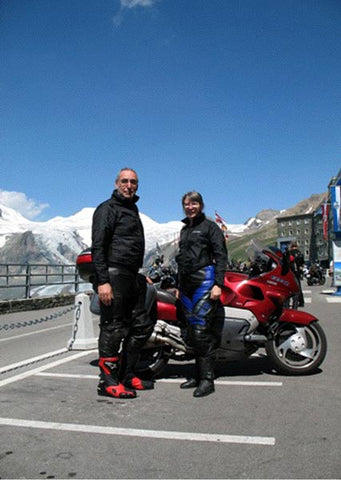
Touring
W&S is designed for performance, comfort, and ease of use. The attention to small details here become more apparent the longer and farther you ride.
Daily Grind
Rough winter weather? What better way to start your workday than instant plug-in, reliable, heat that can be controlled at the turn of a dial.
On the water
Whether it's for work or recreation, most boats have 12V power sources you can tap into and enjoy unlimited heating while you're on the water.
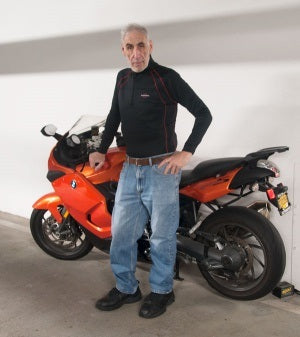
Travel Stories 2
Subscribe to our newsletter
Promotions, new products and sales. Directly to your inbox.
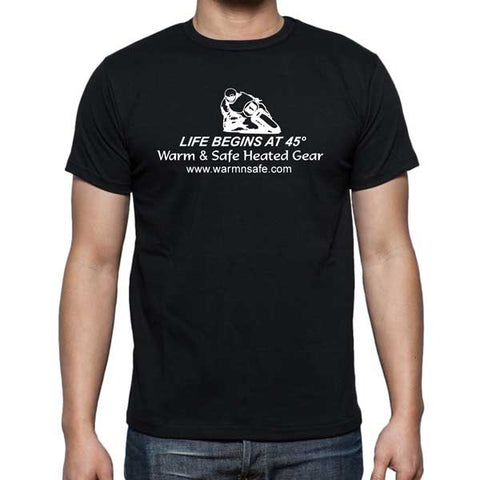
We love seeing your smiling faces! Send us your pictures/videos of you using your Warm & Safe Gear!
Invalid password
Enter